Friday, October 19, 2012

Emergency Instant Gratification with Button Joints!

I am a lover of instant gratification and I hate waiting for snail mail. If you are anything like me I've created a little bit of "instant gratification" for you while you wait.

First I went to Joann's and stocked up on supplies:
Waxed Natural Cord - Jewelry Making Section

3 packages (2 in each) of Sturdy Plastic Buttons

1 package of round black buttons
 (these are bit bigger then the 10mm eyes I use, but they still look adorable and I'm so excited I found them)


You need to have your dragon all sewn up and ready for joints. Fill and close up the body and head, then set them aside. Place your buttons where you would the doll joints and secure with a safety pin through the button hole, do this for the legs and arms, then stuff and close.


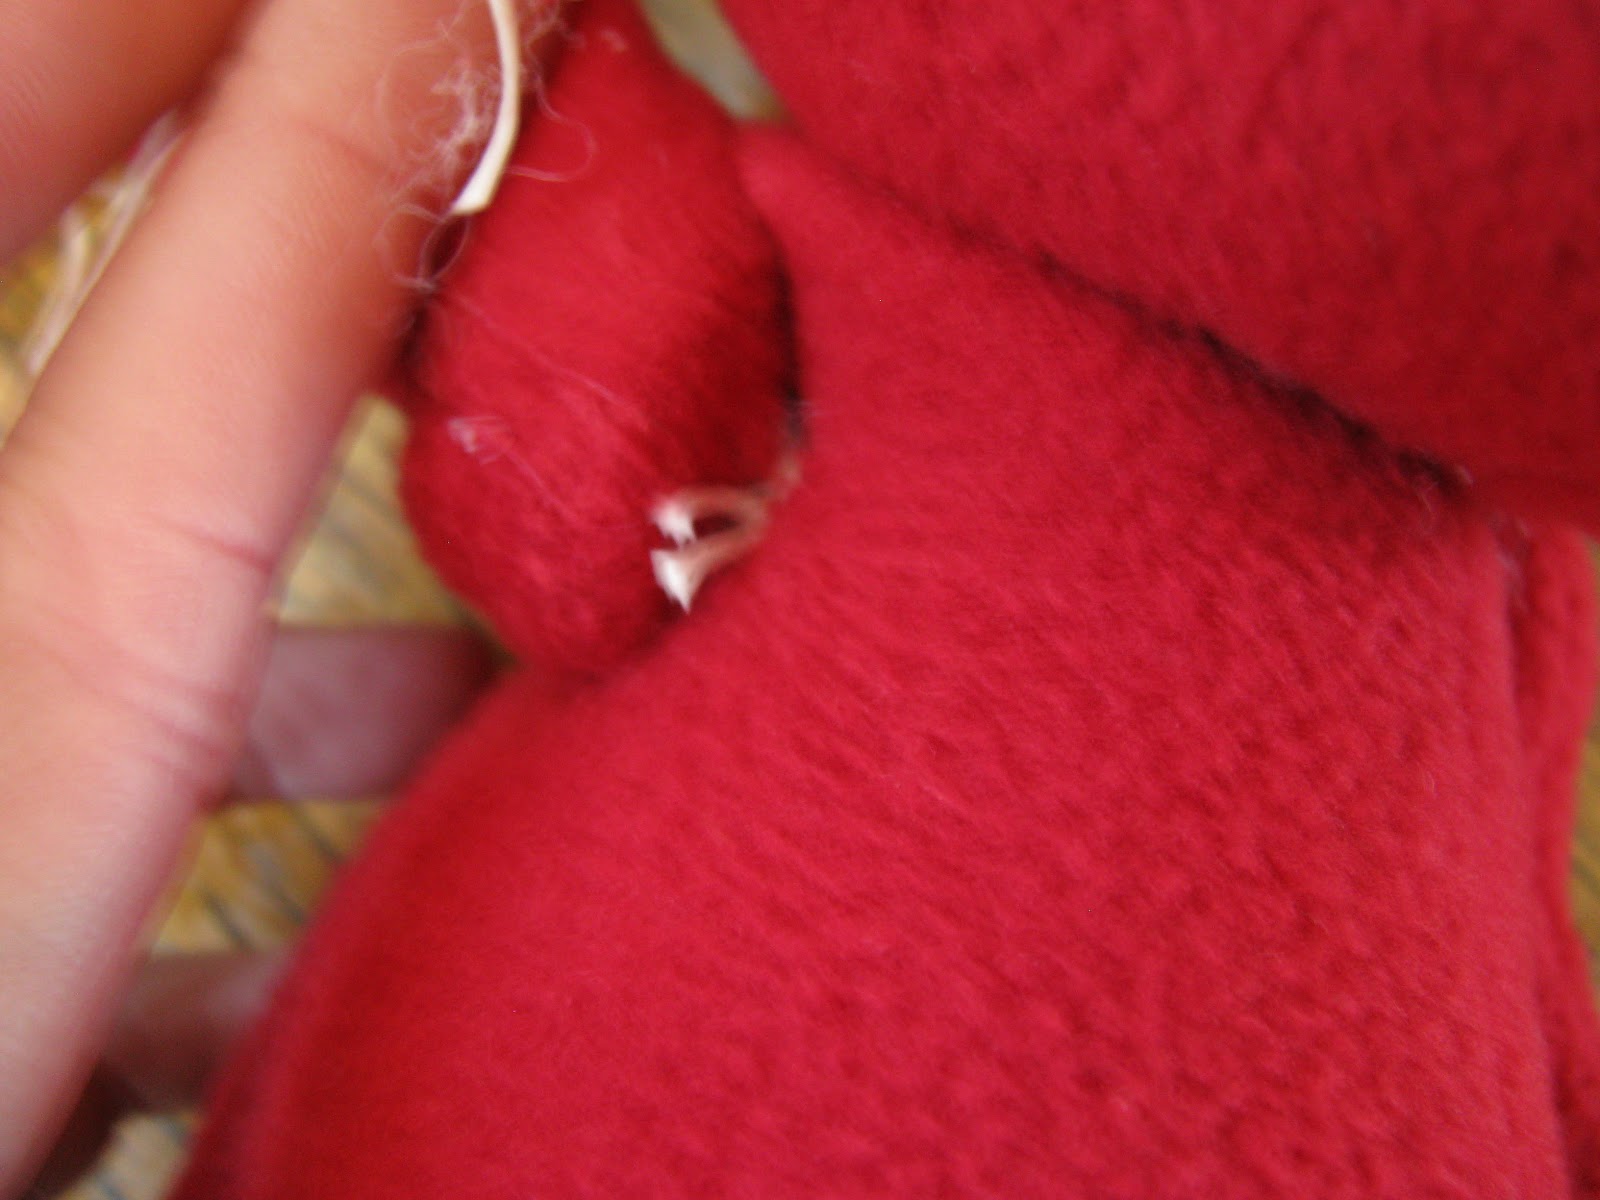
Thread your doll sculpting needle with the waxed cord, make sure you have plenty, it's better to have to much then to little.You'll remove the safety pin as you push the needle through the button hole. Starting from left to right ( or whatever works best for you), go through the button hole on the first arm, then through the body. Next go through the other arm and back through the body. Be careful not to sew through the  cord, this will weaken it.


When you reach the original arm go through the button hole so yous two ends are coming out opposite ends. 


Pull the two ends so that the arms are snug against the body, but not to tight. Then double, triple, super duper knot you cord .


Leave some extra cord, the knot might slip and this will give it more wiggle room. Repeat this for the legs. 

As for the tail and head, the best thing to do is pin them in a position you like and ladder stitch around to secure them. You might want to go twice around for the head.

I wish I had finished pictures for you, but I was far to inpatient and I rushed this sweet little dragon to her new mommy next door before I could. I hope this is a helpful option for your creature creating. Enjoy 
 

Tuesday, October 9, 2012

Making a Dragon Egg

To make a soft snugly egg for your dragon you'll need two 8.5" x 11" pieces of fleece. You can use a piece of paper as a template.

With the two pieces together fold them in half and draw half of an oval: 
Cut along the line and unfold your pieces. That sew all the way around, you do not need to leave any opening for turning, you'll take care of that in a minute.


Now take your egg and fold in one edge seam to seam, it'll end up looking a bit like a pita pocket.


About 1/3 from the top of the egg cut a zig-zag from the fold to the seam.
Flip it it right side out and ta-da! You have an egg, enjoy!

Hi, I'm a Pattern Maker Now


 I guess I've been a pattern maker for a while, the only difference now is I get to share my ideas and foster creation in others. I love dreaming, designing and creating all of the wonderful critters that dance around my imagination and I am honored to have the opportunity to spread my creativity through out the world.


This is Sid, he's become my little mascot, when my youngest isn't cuddling him or flying him around the room by his tail...boys, gotta love'm.


Well that wasn't exactly what I was expecting when I asked for help...silly little trouble maker, I think he needs a nap, but first he needs an egg to snuggle up in....I'll be back later to help you make your own egg for your dragon.